Here is the example, If you want to build one youtube thumbnail. Step by step process how to edit. So, let’s start…
- First, go on a new project, select all the dimensions, and click create after. For adding the background image, we have to first go on file, and after clicking the open and place, once the image is placed, simply click on the checkmark and fix the image. Now For cropping the image, just click on crop and resize the image according to your need.

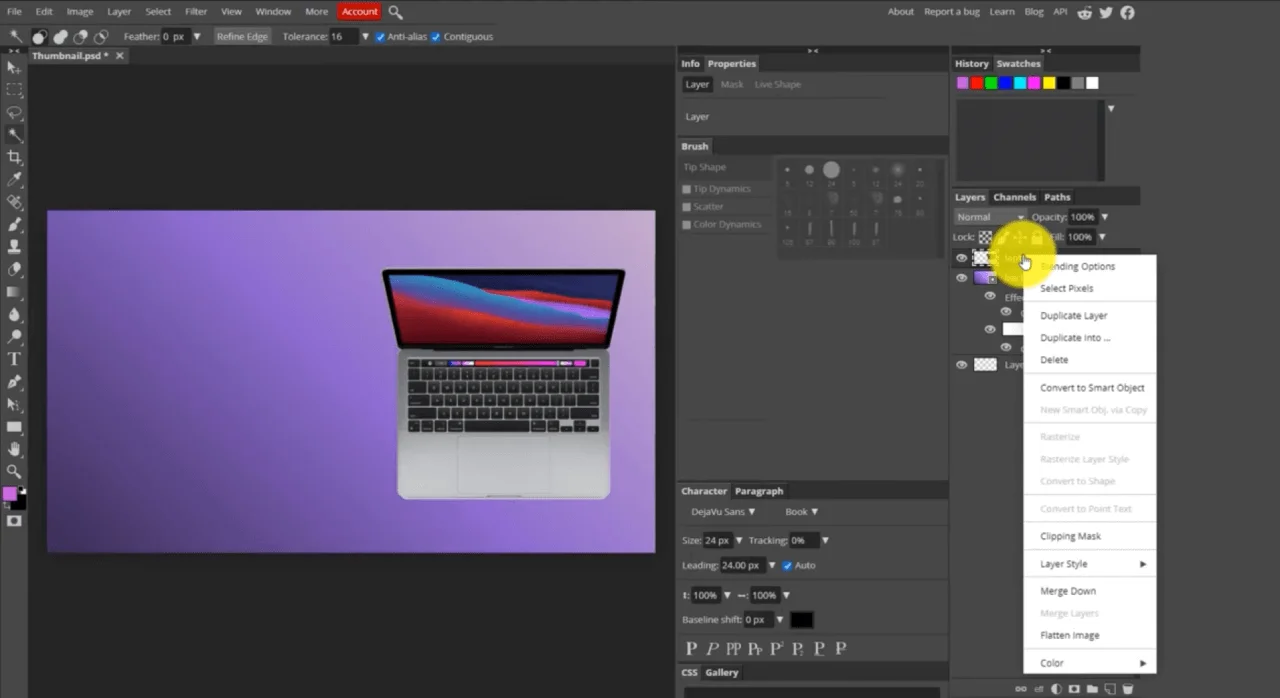
- Now, if you want to transparent the background, you can simply transparent the background using layers setting. After transparent the image, we now have to add another image on the top of the background image for creating a thumbnail. Here we are adding one MacBook image, so you can simply copy and paste the image instead; you can select the image from a file, just click on open and select the file and drop it there.

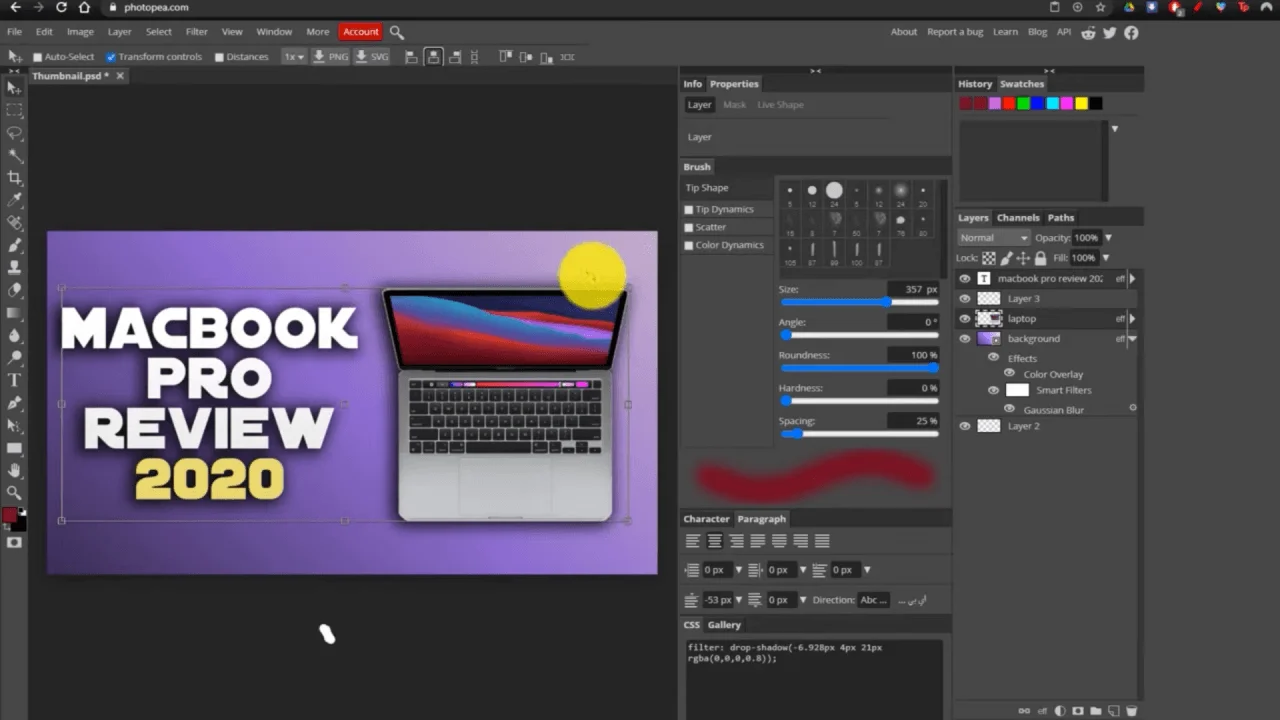
- Now, the next step is adding & editing the text on the image for that first create one layer, and after that click on the text tool after the text properties get open on top. From there, we can select the font type, font size and center of the text, and by using the layer style, we can add the style to our text.
- Now, after placing the text, we can also do the brushing to our image by using the brush tool. By using brushing, we can add the glow behind the text and on the image for that simply create one layer after clicking on the brush tools placed on the left side on Photopea. After that, make the balance of Size, Angle, Roundness, hardness, and spacing according to your need and just click on the image and drag the brush.
- After all, the process is done now for exporting the image. Go on file, click on save as PSD, use PSD if you later want to edit something. After Click on the file, go to export. Now you can export the file as PNG, JPG, and many more. That’s the simple process of photo editing in Photopea.

